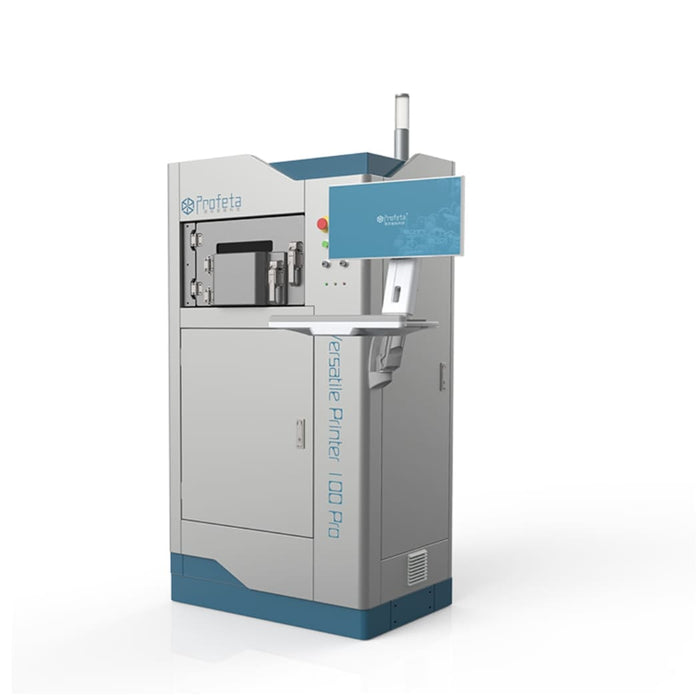
1. Operating Environment
• Ensure the VP100 Pro Metal 3D Printer is used in a suitable environment with:
• Temperature: 15°C – 35°C
• Humidity: Below 95%
• Noise level: Not exceeding 70 dB
2. Power Supply
• Connect the printer to a stable 3.0 kW, 220 V power source. Ensure proper grounding and a secure electrical connection before operation.
3. Start the Machine
• Power on the printer according to the manufacturer’s instructions and allow the system to complete its initialization process.
4. Load Printing Material
• Insert compatible CoCr (Cobalt-Chromium) or Titanium material into the melting chamber.
• Ensure the material is suitable for the machine.
5. Set Up the Printing Process
• Use the control software to upload or design the dental component to be printed.
• Configure the required print parameters and ensure the printing area is clear of obstructions.
6. Start Printing
• Begin the metal 3D printing process using the control software.
• Monitor the printing progress and provide protective gas (Nitrogen or Argon) if required.
7. Post-Processing
• After printing is complete, carefully remove the printed dental component.
• Perform any required post-processing, such as polishing or finishing.
8. Maintenance
• Regularly clean and maintain the printer according to the manufacturer’s guidelines to ensure reliable performance.
9. Shutdown
• After completing printing tasks:
• Follow the proper shutdown procedure.
• Allow the machine to cool down before maintenance.
• Disconnect the power supply if necessary.