

BEST SELLER
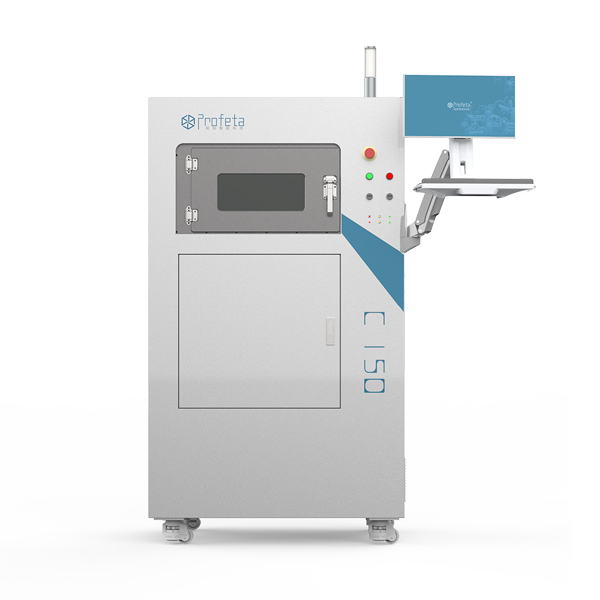
Profeta C150 Metal 3D Printer
Warranty Available
GST Invoice Available
Description
Profeta C150 Metal 3D Printer is a high-precision industrial-grade additive manufacturing solution built specifically for dental and metal part production. Equipped with advanced fiber laser technology and a stable printing environment, it delivers highly dense, accurate, and durable metal parts with smooth surface finish. Designed for professional labs and manufacturers, the C150 ensures reliable performance, efficient workflow, and exceptional output quality for crowns, bridges, frameworks, and industrial metal components
Key Specifications
Direction To Use
Packaging
Warranty
Wide Range of Products
Trusted Global Brands
Best Price Guarantee
100% Genuine Products

Exclusive Deal in just one-click?
Get Bulk Quote →